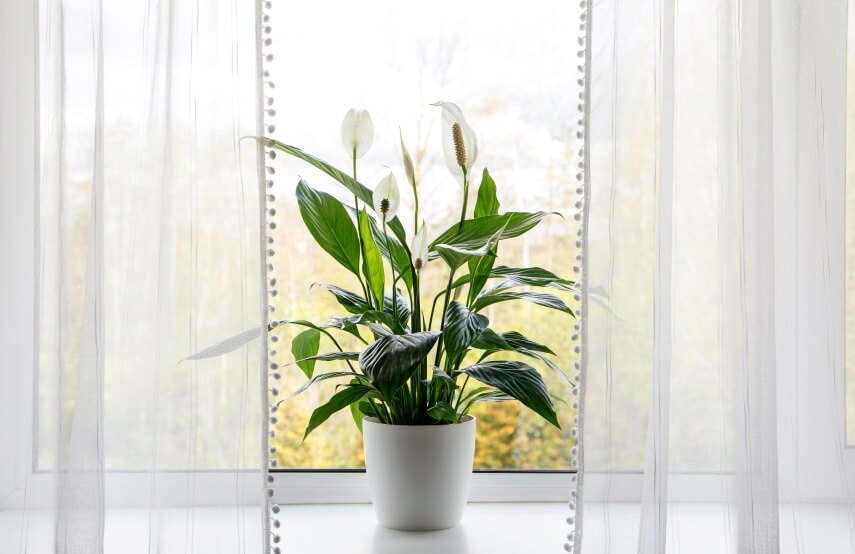
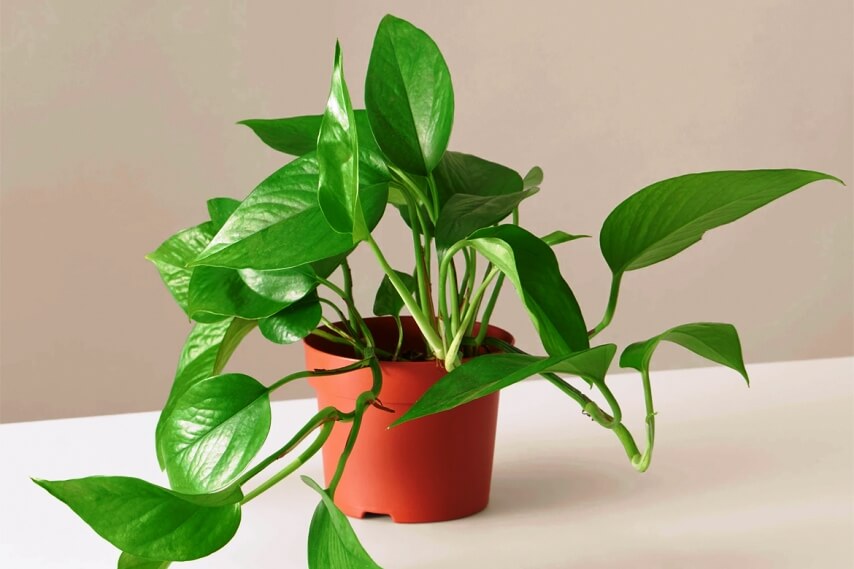
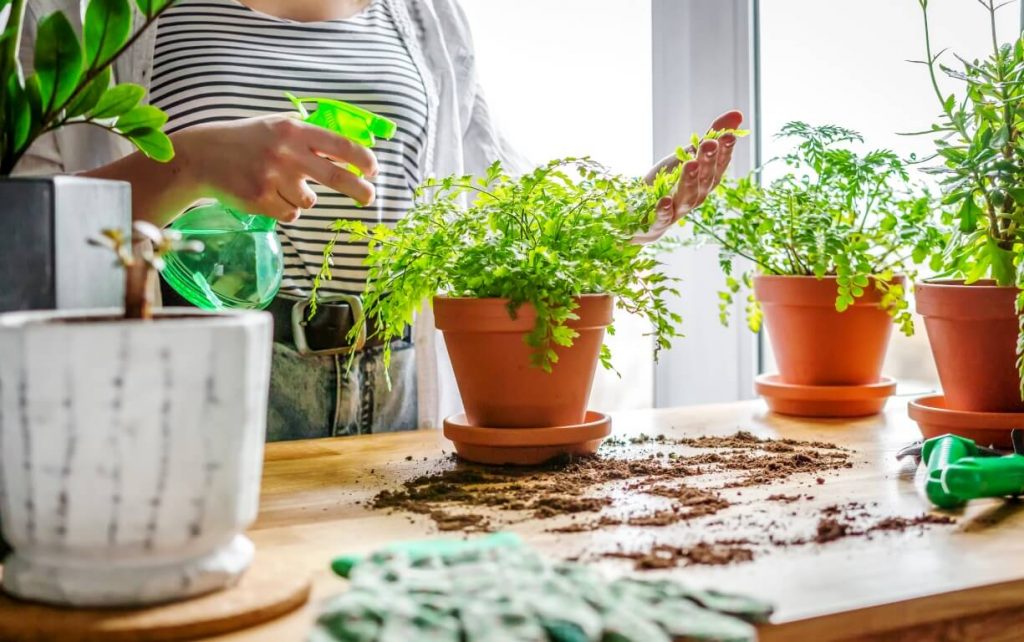
Given how wonderful peace lilies are as indoor plants, you might quickly decide that one peace lily is not enough for your house. The good news is that it’s simple to multiply a mature Peace Lily and create two or more plants from one.
If you have a Peace Lily that has reached maturity and is no longer growing taller, propagation is a fantastic technique to increase the size of your collection of indoor plants at no cost. You can get detailed instructions on how to propagate peace lily in this article.
If you are interested in this topic, you can also read
<<Easiest Plants To Propagate Indoors>> and <<How To Propagate Wandering Jew>> articles.
The right time for Peace Lily propagation
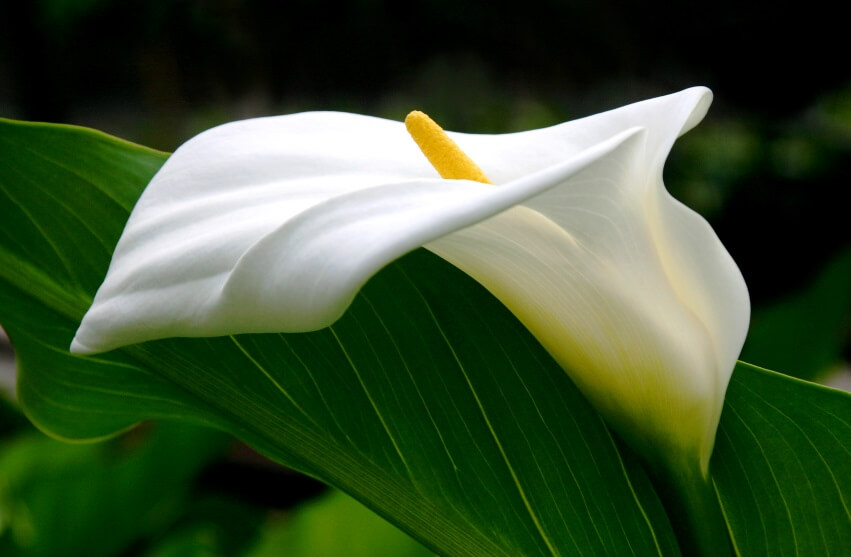
Unlike many other plants, peace lilies also known as Spathiphyllum, cannot be multiplied by cuttings. Instead, they are multiplied via division. Although there are a few similarities between these two methods, one aspect does not change: the timing. So, the question is: when is the best time for peace lily propagation?
The warm season is the best time for peace lily propagation. This means that spring or summer are the best seasons for outdoor peace lilies. However, it is worth mentioning that peace lily propagation can still function in the winter, but because of the lower temperatures and less light, cuttings and clumps form considerably more slowly.
Nevertheless, things are different with peace lilies grown indoors. Indoor peace lilies can be multiplied whenever you like because you can control the temperature and lighting.
You should consider the plant maturity in addition to the season to ensure optimal peace lily propagation. Hold off till your peace lily plants have fully grown. Usually, a mature peace lily will have numerous small clumps of stems encircling at least one larger clump.
How to propagate peace lily by division
Find the mother plant and the crowns
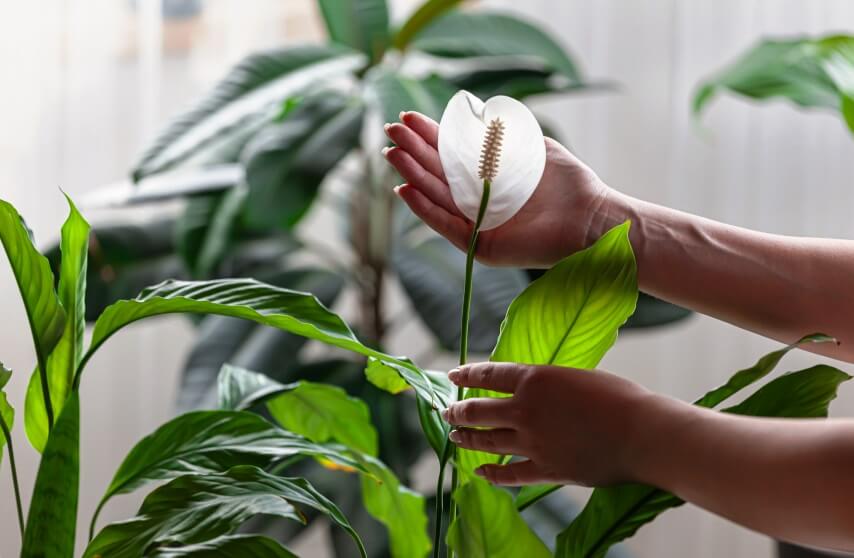
The mother plant is the plant’s greatest mature stem. It usually grows in the middle of the pot and most likely flowered during the last flowering season. If you had grown your peace lily from seed, it most likely would have been the first stem to emerge. The smaller, newer stems that encircle the primary stem are called crowns.
After dividing your peace lily, you will still have the mother plant. The parts of the crowns that are cut off from the mother plant will develop into new independent plants. The reason for this is that peace lilies spread by their roots. New growth emerges from the roots rather than from the mother plant’s stem.
Once the new growth stem has developed roots of its own, it can be detached from the parent plant and transplanted to a different location. Here are some hints for recognizing the ideal crowns:
To start, carefully lift any low-hanging leaves so you can view the stems. Next, search for crowns with three or more additional leaves. Crowns with fewer leaves are too young and may not thrive during transplantation.
Prepare The Soil
Good soil is necessary for growing healthy plants. Like most soil for houseplants, the soil used for Peace Lilies needs to be well-draining and airy. When Peace Lilies are grown in low light conditions like indoor places, the soil evaporates much more slowly than when they are in outdoor locations. If the soil does not drain properly, the roots could end up sitting in water.
Garden soil is generally overly compacted and does not drain well enough for containers, making it unsuitable for planting. Additionally, it may carry pests, illnesses, or weeds that lurk in the soil and affect the tender new development of your divisions. Even regular potting soil, which is frequently used for planting in outdoor containers, could not drain well enough for your interior plants.
The best approach to guarantee that your Peace Lily gets the ideal environment for growth is to prepare your own soil mixture. This means that you can successfully propagate peace lily plants by creating your own soil mixture. To make your soil mix for the peace lily plant, we recommend reading the << best soil for peace lily >> article.
Divide the plant
As you have identified the crowns and prepared an ideal soil, it’s time to divide the peace lily plant and start peace lily propagation process. Here is what you need to do:
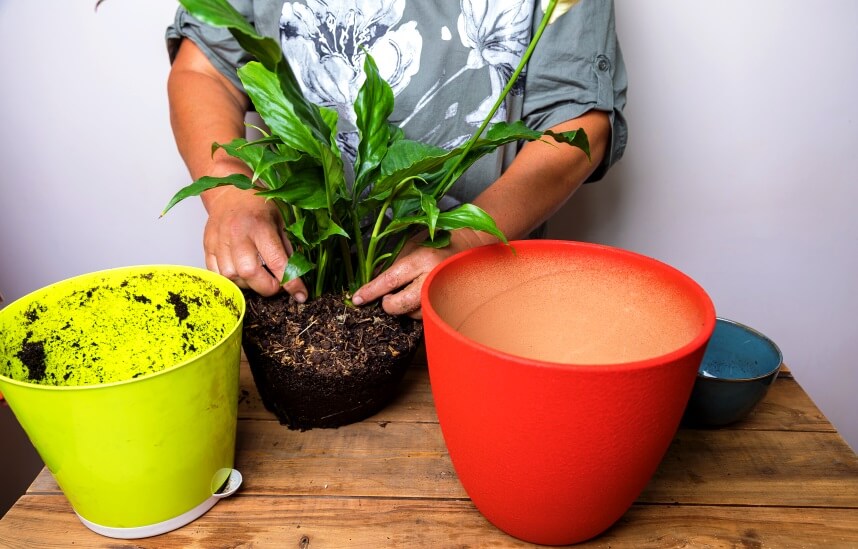
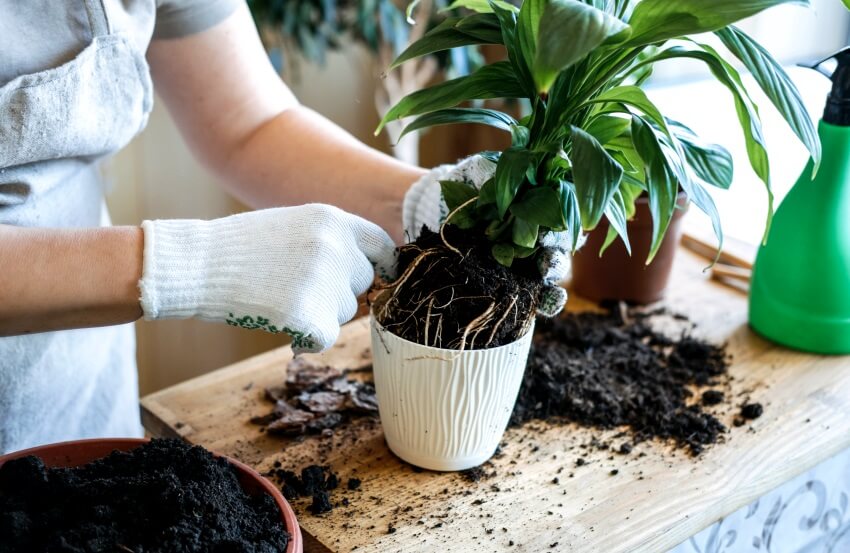
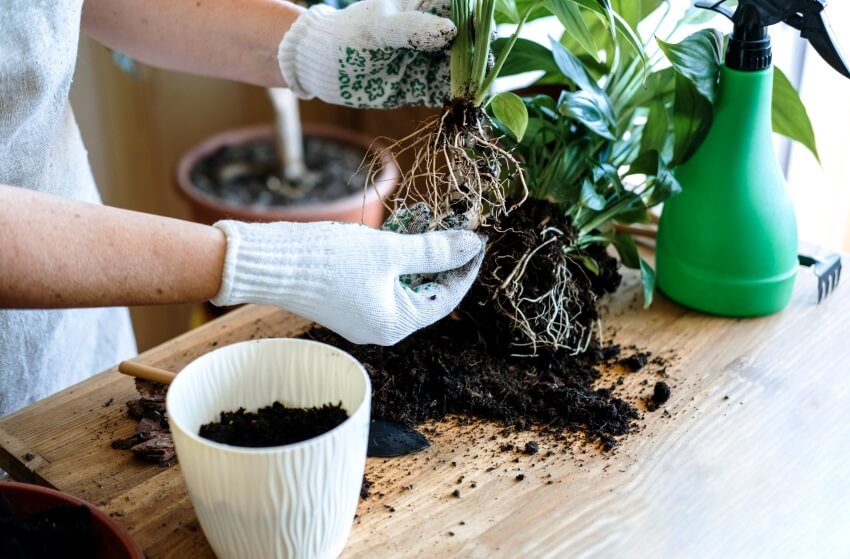
Step 1: Take your peace lily out of its container slowly. The soil can get loosened by tapping or squeezing the pot’s sides. Stems should not be pulled too firmly since this could harm the plant.
Step 2: Remove the roots’ loose soil by brushing. Doing this allows you to see the roots more clearly and keep your workspace tidy.
Step 3: Spread the roots of the peace lily as widely as you can before placing it on a flat surface.
Step 4: Find the location where the crown is connected to the mother plant by following one crown down from the stem into the roots.
Step 5: Use a clean, sharp knife or scissors to cut the connecting root.
The surrounding roots should be protected as much as possible. To prevent bacteria from transferring to your plant, ensure your knife or scissors are clean.
Replant the new peace lilies
When you have divided your peace lilies into as many pieces as you like, it’s time to pot them.
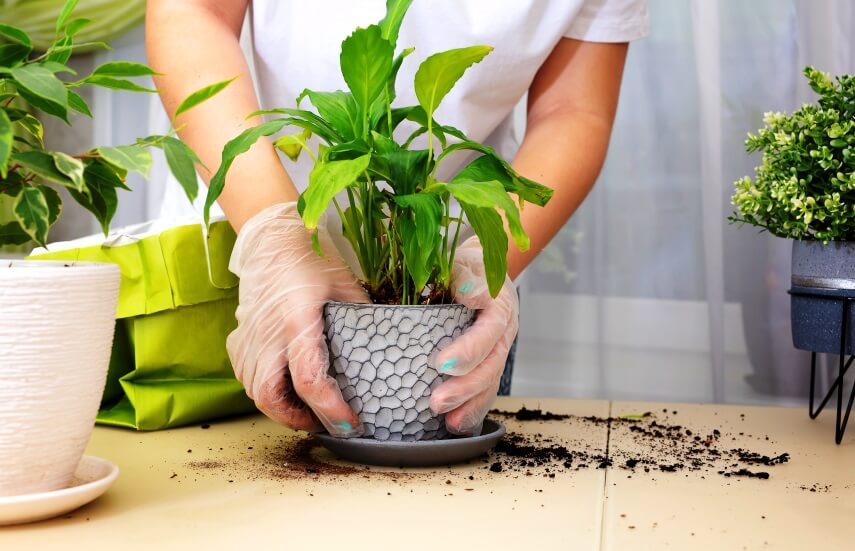
First, put the mother plant back in its original pot. This is an excellent time to see whether your peace lily needs new soil or has outgrown its pot. Then, plant the crowns in a new pot filled with airy and well-draining soil.
If possible, utilize the same soil mixture that was in the mother plant’s pot. Plant stress can occasionally result from moving it to a new pot with changing the soil. Drooping leaves following transplantation are a common sign of this condition, which is known as transplant shock. Some of this stress can be reduced by utilizing the same soil. Do not worry if it cannot be done. Usually, transplant shock subsides within a few days to a week.
Last but not least, take the same care of the crowns as you would the mother plant. Although dividing your peace lily may appear to be a difficult or intimidating task, maybe this helpful guidance has reduced some of your anxiety about it.
Anyone can propagate peace lily since it is not as difficult as it may seem. Simply be gentle with your plant and move slowly.
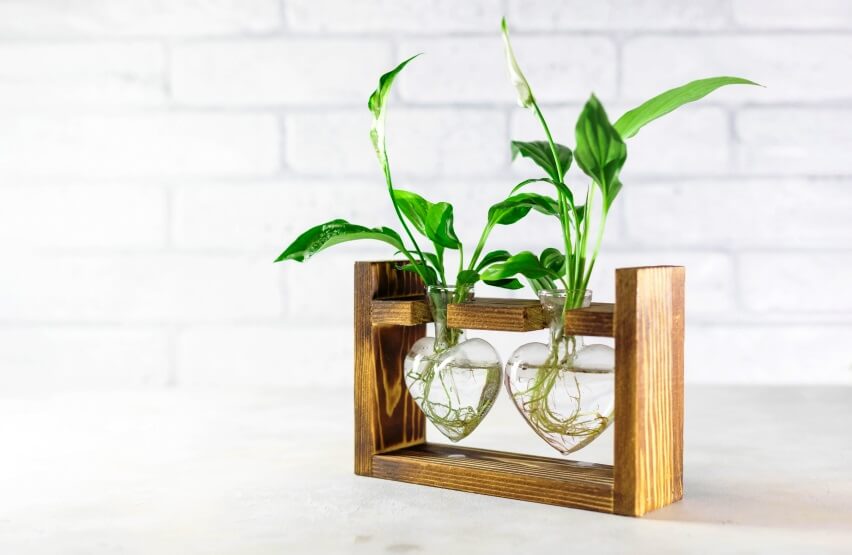
How to propagate peace lily in water
If a peace lily clump that was unintentionally split off from the mother plant has no roots of its own, you might think about growing it in water. In this manner, as opposed to planting it in soil, it will root a little more rapidly, and you can monitor its growth.
A piece of the plant and a glass or vase that is the right size is all you need to propagate peace lily plant in water. Place the peace lily in the container and fill it with water, preferably distilled or tap water. Place the new plant in a well-lit area, not directly in the sun, and wait for new roots.
The new peace lily segment will root as long as it has at least one growth point, which appears as a little nub. In the summer growing season, this could only take a week or two. It might last a lot longer in the cold. Once the roots are one to two inches long, you can pot your new peace lily plant.
After Care
After planting, thoroughly water each division until water runs out of the drainage holes at the bottom of the pots. To minimize shock, position them in a location with mild, indirect light, preferably where the parent plant was placed to limit shock.
After planting, the leaves will probably droop, and some might even turn yellow. This is a normal reaction to the root disturbance and environmental alteration. During this time, do not fuss over the plant or water it excessively; it should return to normal on its own.
Plants should remain in these pots until they start to outgrow them, at which point they should be divided or replanted.

