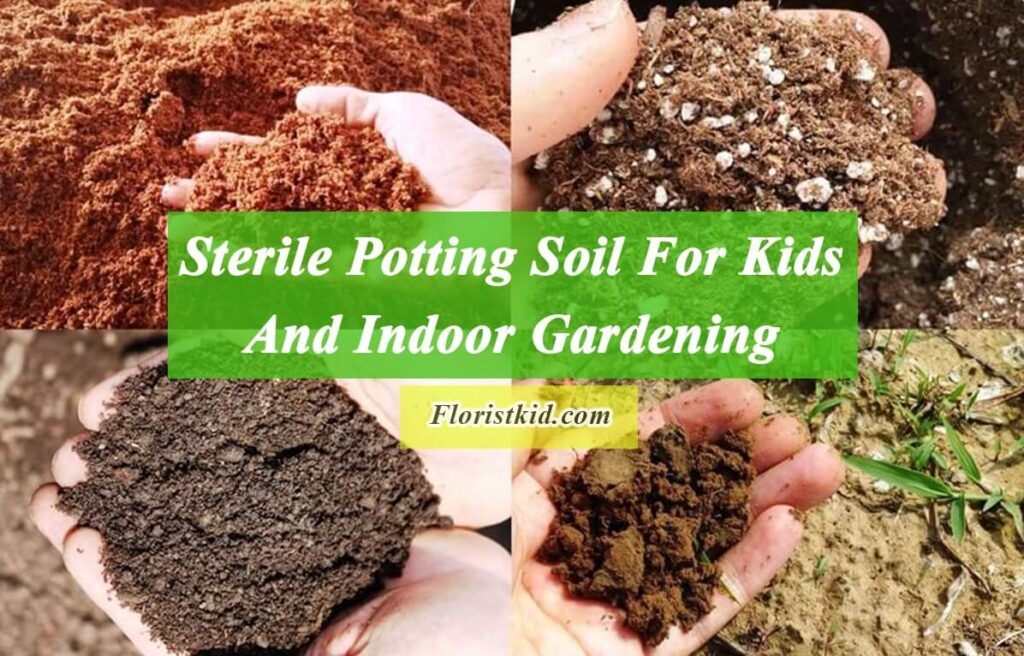
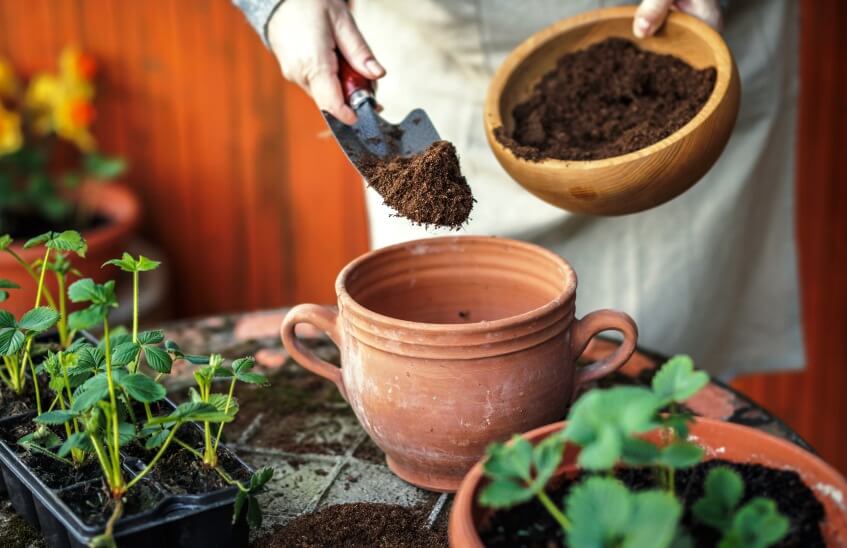
Why Soil Sterilization?
Before planting seeds or seedlings, dangerous microorganisms such as bacteria, fungi, and pests must be removed from the soil or planting medium. Soil sterilization is essential to gardening as it stops the transmission of pests and diseases that affect plants and creates a clean and healthy environment for plants to grow. It also increases the likelihood of survival and production of a good crop [1].
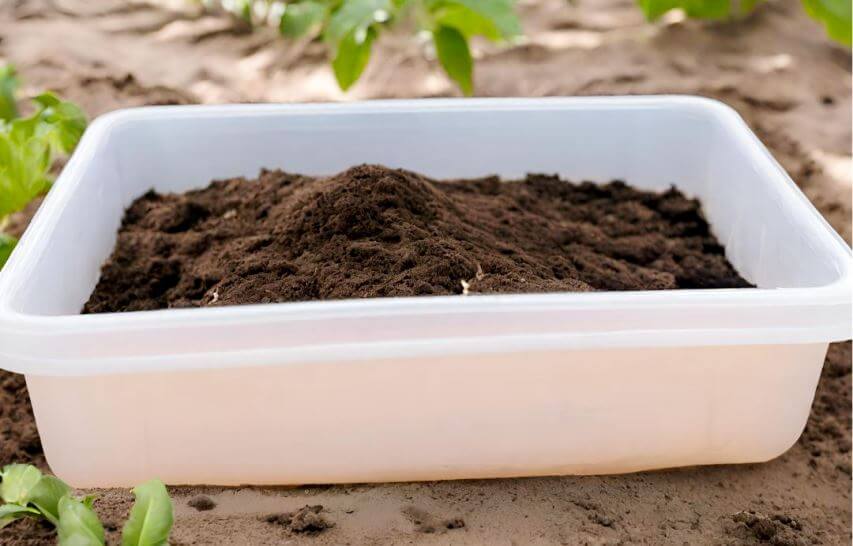
However, soil sterilization has several problems, especially when sterilizing large volumes or masses of soil. The smaller the amount of soil, the easier it is to achieve complete sterilization.
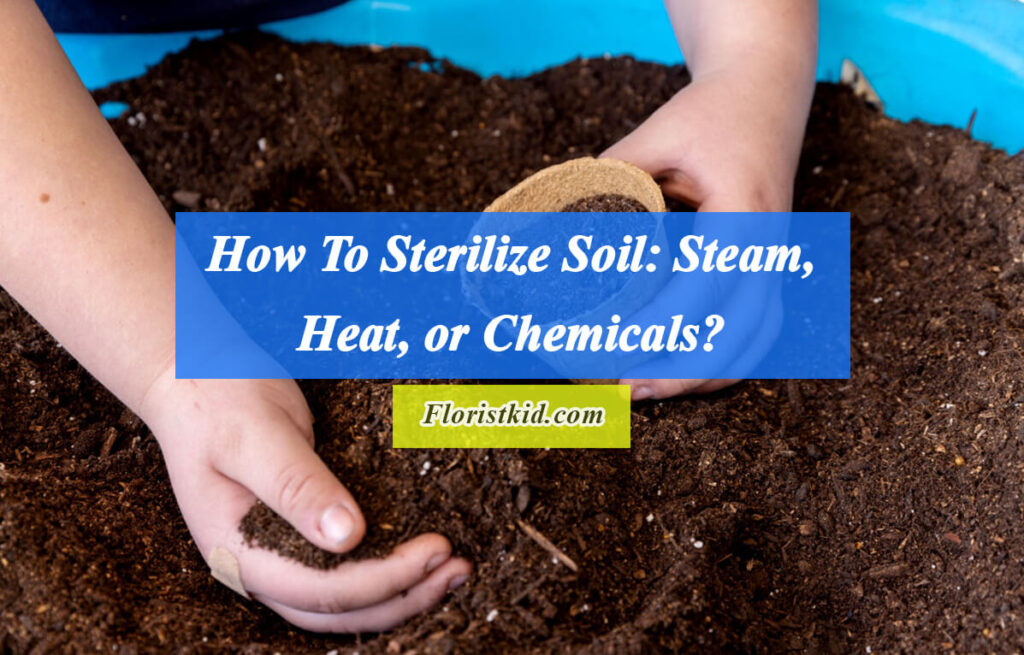
The table below summarizes soil sterilization methods. Two main approaches are used to sterilize garden soil and pots: heat treatment and chemical treatment.
How To Sterilize Soil: Heat Treatment Methods
Heat treatments are a popular alternative for home gardeners. These treatments heat the soil to a high enough temperature to destroy harmful organisms, such as weed seeds and fungal spores. The internal temperature and the process’s duration determine the heat treatment’s effectiveness.
Sterilization can also reduce the population of beneficial soil microbes. After sterilization, certain species of bacteria can quickly recolonize the soil. If the internal temperature of the substrate is too high, the heat treatment can be harmful, increasing the risk of phytotoxicity caused by dissolved salts, manganese toxicity, and organic compounds. Soil mixtures containing highly degradable organic matter are more vulnerable to damage when exposed to high temperatures [2].
Solarization
Soil solarization is a chemical-free approach to sterilizing planting media before planting seeds and seedlings. It is good for sterilization of large amounts of soil, usually in gardens or fields. This method is accomplished using the sun’s inherent heat. This involves covering the soil with plastic sheets and allowing it to absorb the sun’s rays, gradually increasing the temperature to kill pathogens, weed seeds, and pests.
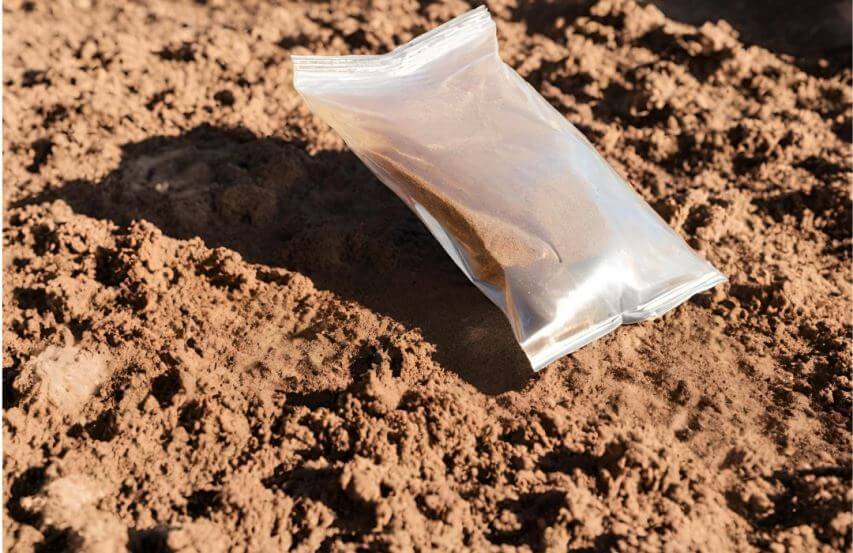
There are two methods for Soil Solarization: First, you can cover the ground with plastic sheeting and evenly distribute the potting mix between the layers of plastic. Second, you can take smaller portions of soil, seal them in plastic bags, and expose them to direct sunlight for storage.
The choice of plastic for sterilization depends on its type and thickness. Clear or transparent plastic is best for exposure, as it deflects some of the sun’s energy. Thinner plastic (1mm) allows for better heating but is more susceptible to wind or animal tearing. Medium-thickness plastic (1.5 to 2 mils) works best in windy conditions, while thick plastic (4 mils or more) should be used in small areas.
Steps:
- Soil solarization requires breaking up clods and removing debris from previous plants.
- Place the bottom layer of plastic and spread the potting mix evenly over the top, leaving at least 6 inches from the edges.
- Water the substrate until it is lightly moist, and then cover the soil and potting mix with plastic wrap.
- With rocks or soil around the edges, firmly secure the plastic across the soil’s surface.
- Fill plastic bags with soil and seal them tightly before placing them in a sunny spot in the yard.
- Sun exposure lasts four to six weeks in the hottest months of the year, but locations with cooler, windy, or cloudy conditions may require eight to ten weeks.
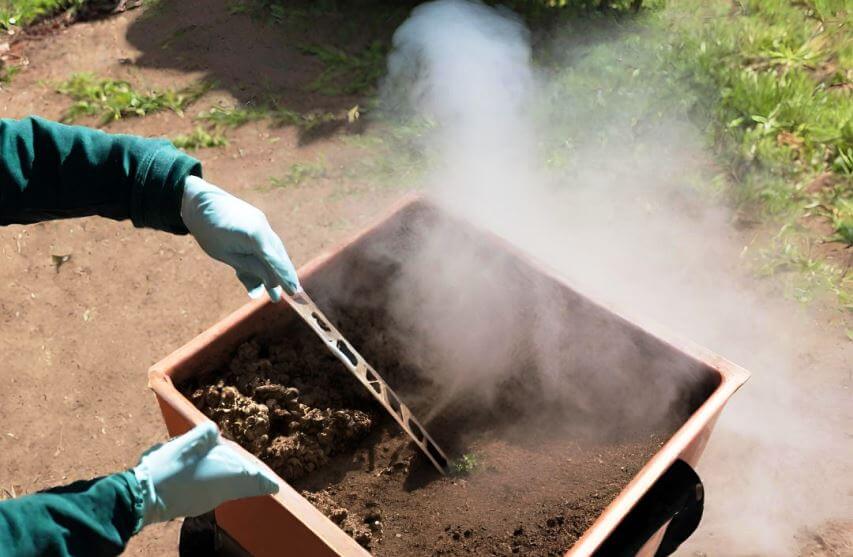
Steam (Autoclave)
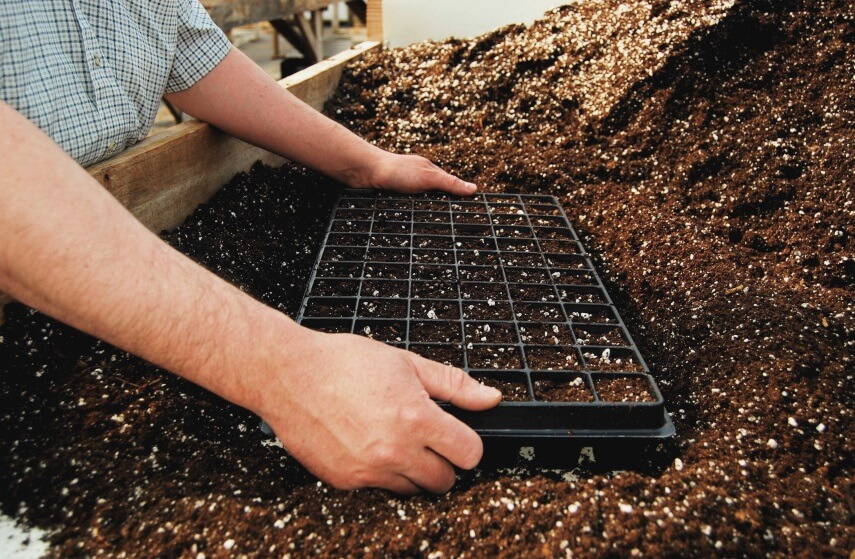
Steam sterilization is a commonly used method for sterilizing soil samples, which is readily available in most research and teaching laboratories. The process involves heating the soil to 250°F (121°C) at 1.1 atmospheres for at least 20 to 30 minutes. However, longer times (approximately 1 hour) are recommended for larger quantities of soil. Soil can be sterilized in glass beakers, glass petri dishes, or stainless steel trays lined with aluminum foil.
It is important to spread the soil thin to ensure that steam can penetrate during the autoclave cycle. Filled containers, such as glasses, stainless steel trays, or polypropylene trays, are difficult to sterilize, even after several autoclave cycles. The soil should not be overly compacted in containers but should also not be left loose to allow steam to penetrate it.
Air-dried or water-deficient soil is easier to sterilize. Autoclaving can disrupt soil structure and release ammonium nitrogen and amino acids. It has also been found that it reduces the surface area of clay and alters the surface charge of sandstone.
Fire
This method is suitable for small to medium amounts of soil. It involves heating a metal container of soil from below. Some people may opt to burn piles of garden soil in a bonfire-style fire, but this is prohibited due to safety concerns. It is important to note that soil has low thermal conductivity, so fire may not effectively penetrate several inches deep, making it insufficient for sterilizing thick soil layers [3].
Steps:
- Begin the procedure on a dry day with low humidity levels.
- Moisten the soil with water, and then add compost and wood chips.
- Light a fire in a fire pit using newspaper, dry wood, and matches.
- Fill a metal kettle with soil and moisten it with water.
- Cover the kettle tightly with aluminum foil
- Hang the kettle on a spit over the fire.
- Check the soil temperature using an oven thermometer.
- Bake the soil for approximately 30 minutes at 180°F.
- Remove the kettle from the spit and let it cool with the foil lid.
Oven
Oven sterilization is a rapid and efficient method for soil sterilization, which helps eliminate harmful microbes, weed seeds, and pests in plant environments.
Compared to microwave sterilization or steam sterilization, oven soil sterilization is a safe and efficient method for small to medium volumes [4].
Steps:
- A 3-inch layer of soil should be added to an ovenproof container.
- Mix the correct amount of water with the soil to ensure it is adequately hydrated without being excessively wet or too dry. Excessive water will significantly slow down the application.
- Place the dishes in an oven preheated to 200°F and cover them with aluminum foil.
- Use a thermometer to check the internal temperature of the soil.
- Let it cook for 30 minutes without opening the oven door once it reaches 180°F.
- Turn off the oven and wait for the soil to reach room temperature.
Microwave
A small amount of soil can be sterilized in the microwave, but it is important to thoroughly check the soil before use to ensure it does not contain any metal.
Steps:
- Fill a Ziploc bag with damp soil
- Close the bag halfway to ventilate
- Heat the soil bag in the microwave on high power for 90-150 seconds.
- Check the soil temperature using a meat thermometer
- When the soil reaches a temperature of 180-200°F, remove it from the microwave
- Allow the soil to cool to room temperature before using
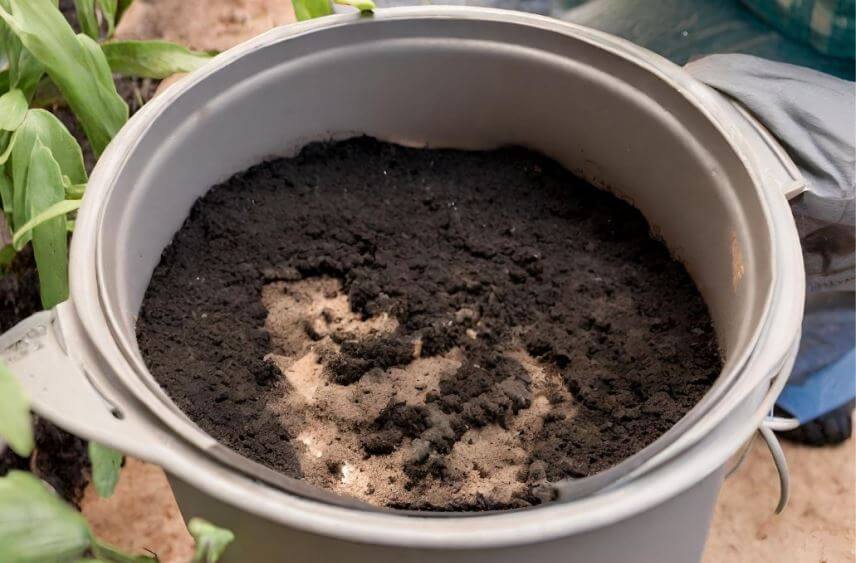
How To Sterilize Soil: Chemical Treatment Methods
Chemical sterilization of soil requires the use of chemical agents to eliminate harmful organisms and weed seeds in the soil.
Commercial businesses use chemical treatments on a larger scale due to cost and safety issues. Chemical treatments are simple and fast, even when using large amounts of soil. However, these treatments involve health and safety risks, have a limited spectrum of effects, and require a period of quarantine after use. Residues may persist in the soil and can potentially harm plants if not used correctly. Long-term use of chemicals may potentially increase disease or insect resistance, making treatment less effective or even ineffective over time.
Gaseous Chemicals
Chloroform
Chloroform (CHCl) is highly volatile and has been used for soil fumigation to estimate microbial biomass.
Steps:
- 250 g (or less) of soil is placed in glass beakers inside a desiccator lined with moist paper. The moist paper contains a cup of alcohol-free chloroform and shockproof chips.
- After the removal of excess moisture from the dryer, chloroform is subjected to a boiling process. Subsequently, the drainage is halted, and the dryer is left undisturbed for 24 hours. After this duration, the soil, chloroform-laden fibers, and paper are extracted within a chemical hood.
- Repeated 3-minute discharges of the dryer remove chloroform from the soil. It is recommended that eight discharges be used to remove chloroform. The remaining discharges are done with an oil vacuum pump.
- Always ensure that you are not exposed to chloroform or at risk of explosion.
Ethylene Oxide, Propylene Oxide, And Methyl Bromide (Monobromethane)
Ethylene oxide and propylene oxide are colorless and flammable gases used for soil sterilization. They can increase soil pH during fertilization by esterifying carboxyl groups in soil organic matter. Propylene oxide can be converted to ethylene glycol and polyethylene glycol during sterilization. However, it can also inhibit the growth of certain bacteria and nematodes. Methyl bromide, a highly toxic gas with a boiling point of 41°F, is used for soil sterilization but has been banned because of its detrimental impact on the ozone layer.
Chemical Materials
Mercury Chloride (HgCl2)
Mercury chloride (HgCl) inhibits soil microbial activity by binding with cellular proteins. A concentration of 500 mg is satisfactory. However, issues with disposal and limitations on plant growth restrict its use. Despite these concerns, mercury chloride is suitable for aerobic soils.
Sodium Azide
Sodium azide can be introduced to soil samples in glass jars, flasks, or vials with a concentration ranging from 1% to 10%. This technique prevents gas exchange and can create anaerobic conditions in the soil. It is important to use sodium azide with caution because it is toxic. A higher concentration (10%) can remove sodium ions from the soil in leaching experiments. However, it is not recommended to inhibit soil respiration as it can lead to inaccuracies in carbon dioxide emissions and an increase in soil pH.
Pros And Cons Of Soil Sterilization
Soil sterilization is an effective method for removing pathogens from planting materials. However, not all methods may be suitable for all planting environments. Consequently, it is important to consider the advantages and disadvantages of each method before making a decision. Check out the best method for your planting environment and gardening goals. You can ensure the healthy growth of your plants by sterilizing the soil and preventing the spread of diseases and pests in your garden [5].
Pros:
- Disease prevention and weed management
- Promotes healthier growth by eliminating harmful pathogens, pests, and weed seeds
- Reducing the number of weed seeds
- Providing a stable environment for plants
- Improving seed germination by reducing pathogens and weeds
- Ability to do them at home
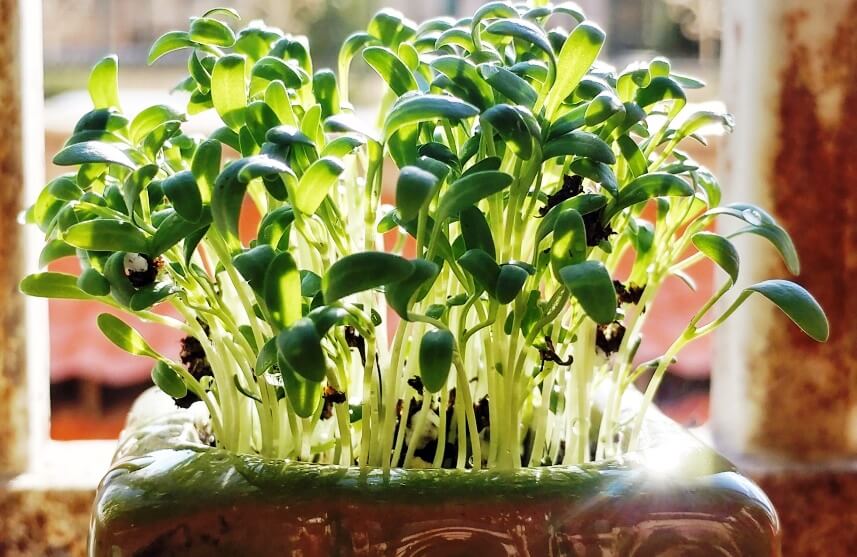
- Providing a safe potting soil for kids
Cons:
- Removal of harmful and beneficial microorganisms from the soil harms long-term fertility and material cycle.
- Reducing the availability of nutrients in the pot’s soil
- Some methods can be time-consuming
- Damage to other plants
Conclusion
Soil sterilization, whether chemical or heat treatments, effectively eliminates pathogens, weed seeds, and harmful organisms from mineral soil and potting mix. Soil sterilization is beneficial for soils used for seed germination, propagation, or plant growth since it promotes healthy growth. Depending on the type of experiment and the resources available, various techniques can be used to sterilize the soil.
It is important to confirm that the sterilization process has effectively destroyed the microbial population. Even after sterilization, soil can still be contaminated, especially in experiments carried out over a long period. The selective sterilization method can also affect the chemical and physical properties of the soil. Repeated autoclaving or gamma irradiation are usually cost-effective methods that do not cause chemical contamination.