
Most common Microgreen trays
10x20x1 microgreen growing trays
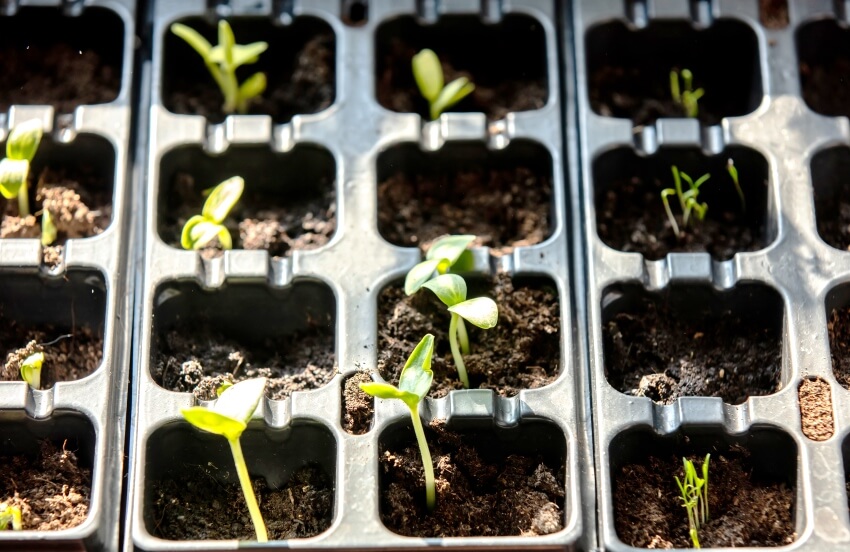
The 10″ × 20″ plastic seedling trays common in garden centers and greenhouses can be used to hold and cultivate microgreens (these trays are known as the 1020s in the trade). Microgreens thrive in these trays because the roots do not have any time to develop very deep. A microgreen growing tray of this size may hold a lot of seeds. The holes in these microgreen trays aid with drainage if you overwater your micros. The 10″ × 20″ trays are standard in the microgreen industry. If you hear about growers’ seed density, they talk about the density in a 10×20 microgreen tray.
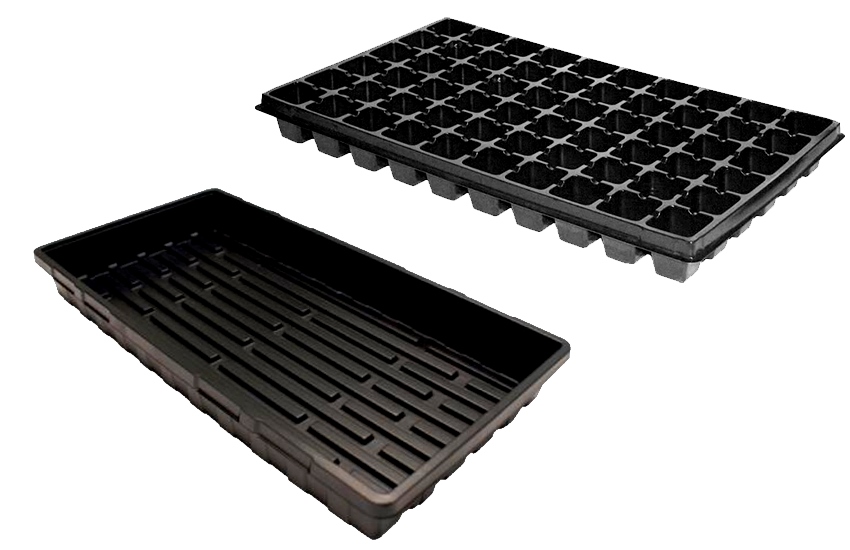
10x20x2 microgreen trays
Some people like the one-inch-higher 10x20x2 trays. These microgreen trays keep the soil in, while also supporting the microgreens growing on the edges. This size is ideal if you grow indoors and do not want to make a mess. Harvesting the microgreens on the 2-inch-high trays can be a little more difficult as you have to reach in and cut them in the tray rather than on top of it.
You can also use the 10x10x1 or 10x10x2 tray if you are growing microgreens as a hobby. This size of microgreen tray is half the size of the standard trays, but it still holds enough micro crops. For these trays, simply divide the weight of the seeds by two to get the proper seeding density.
microgreen growing trays features
Tray material
It is best to order thick microgreen trays rather than thin ones because the latter are more likely to break. When thin ones are exposed to the sun, they become fragile. If you cannot find any trays with holes, you can simply drill them yourself. Stack 5 trays on top of each other and drill some holes (10+) in them to allow the water to drain. Make sure you have ones that do not have any holes so you can use them as drip trays or blackout domes.
Drainage system
After periodic waterings of your seed and plants, moisture will be discharged via the holes in the microgreen growing trays, therefore you have to protect any wood surfaces on which the trays are put on. The most straightforward approach to solve this problem is to place the tray in a larger container with a single layer of loose stones or gravel. This is called a drip tray method.
Hard plastic trays measuring 11″ x 22″ are available in the garden shops. They are perfect for holding microgreen trays. These trays will hold overflow moisture due to their lack of irrigation holes, keeping water off tables, window sills, and garden carts, and, when properly maintained, preventing fungus from forming in and around the soil bed.
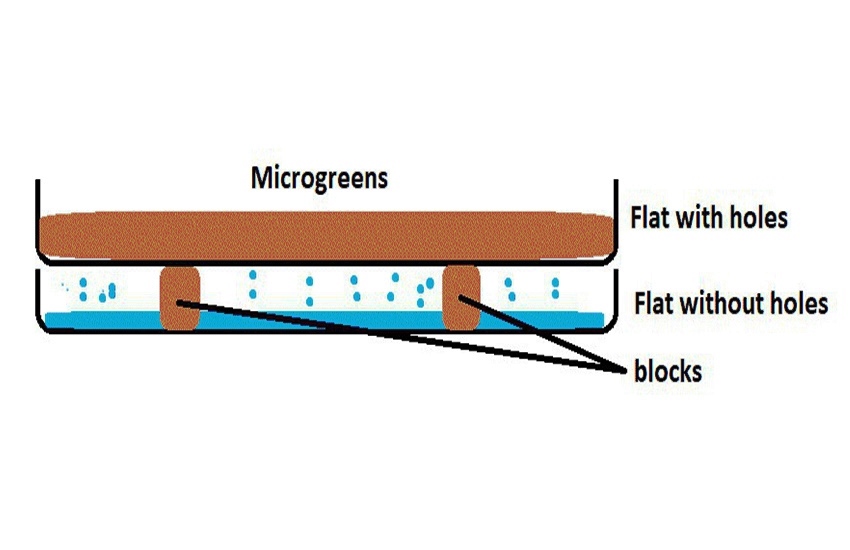
The blocks in the dip tray method can be anything. But using bamboo or rocks as the blocks are recommended.
Space allocation
How much space should you allocate for your microgreens garden? A single person might be happy with two or three microgreen trays if plantings are scheduled to enable continuous harvests. A salad-loving family of four might require four to six seedling trays to meet their needs.
Microgreen tray alternatives
Microgreens can be grown in containers other than the plastic 1020 Microgreen growing trays mentioned above, as long as the foundations of excellent growing are followed. These containers can be turned into seedling trays by drilling ¼-inch drainage holes in the bottom of sturdy, affordable food-storage containers.
Food storage containers exist in various sizes and are frequently found in the market for low costs. Look for reasonably shallow ones that can be filled with 2 to 3 inches of soil. The water that drains through the holes can be trapped using the lids as trays.
You can also raise favorite types of microgreens in terra cotta pots, shallow wood boxes, plastic clamshell and any other receptacle that can hold soil and withstand water. Repurposed containers will produce the same outcomes as seedling trays used by growers if the growing process is approached with the proper procedures, care, and attention.
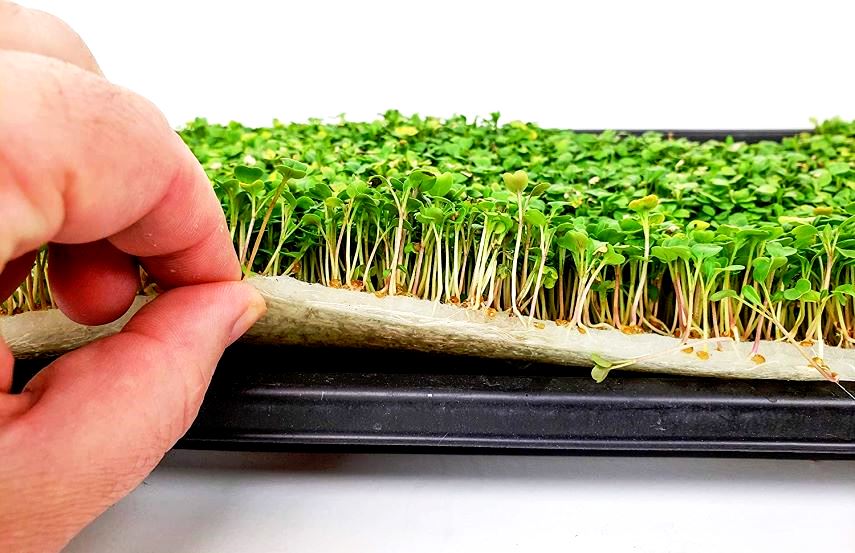
How to sow microgreen seeds in trays?
There are two techniques to consider to produce microgreen growing trays suitable for various microgreens. One is to make multiple sowings in a single seedling tray. For example, sow three rows of one micro and four rows of another in the same tray, or dedicate two rows each to a different crop and sow the seventh row with a microgreen you have never tried before. The other is to sow only one kind of micro in all rows.
Microgreen growing rack
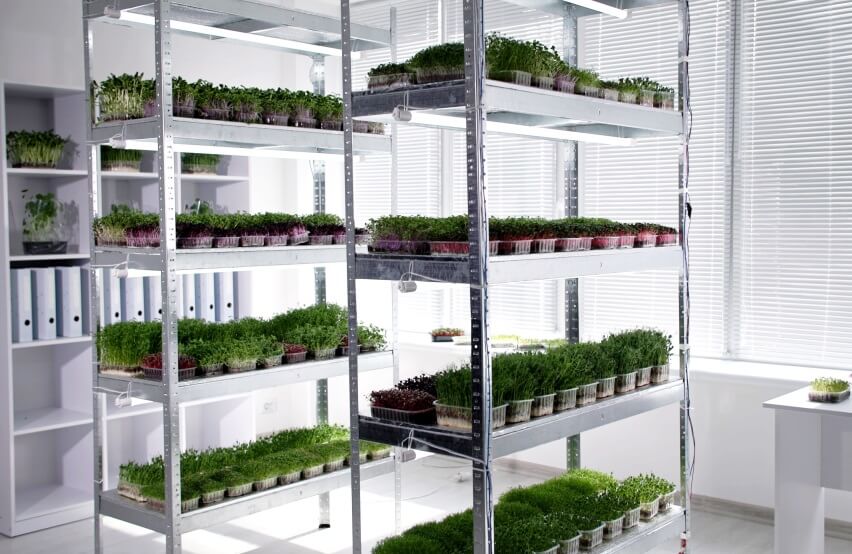
If you are growing a few microgreen trays, you will not need a rack, but if you are operating a microgreen business or simply want to grow more, it is better to use one.
You may move them around and put them in place with the ideal light. Steel wire racks, which are easy to utilize while cultivating microgreens, can be found at a local hardware store. Look for a rack that is a little more than one foot in height between each level.