
Microgreens For Beginners
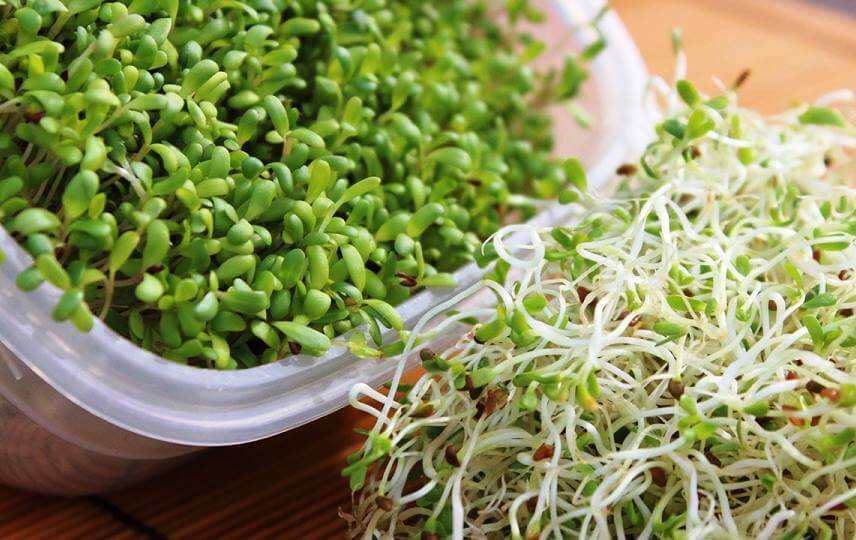
For people, especially kids new to indoor gardening, growing microgreens is excellent as a starting point. The short seed-to-harvest timeframes ensure you do not need to wait months for veggies to appear. If the conditions are ideal, certain micro plants may be harvested in less than a week. This activity will also assist you in determining whether your interior area is suitable for growing plants or not.
Because of the short growth durations, you will be able to detect problems like airflow and overwatering more readily. For example, too much watering and stagnant air can quickly lead to mold growth in sunflower shoots or microgreens, necessitating a change in your kids gardening arrangement.
Enjoy the process of growing microgreens, just as you would with any indoor growing endeavor, especially since fresh herbs may be tossed into recipes just seconds after you harvest them.
Materials For Growing Microgreens Indoors
Only a few items are required for growing these lovely plants. Some of these items may already be in your home, while others may require only a little purchase. The following are the necessary items:
- Tray
- Seeds
- Soil
- Towel or cloth
- Watering can
- Scissors
- Storage container
Tray
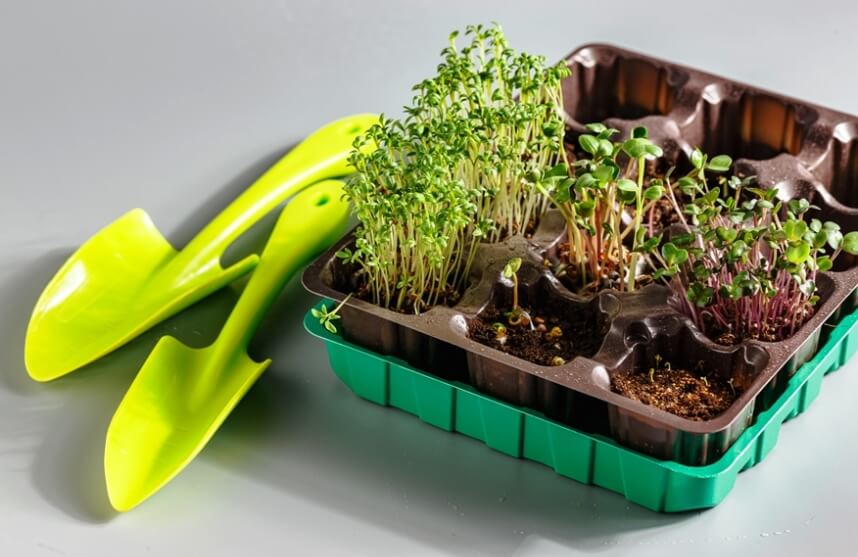
Microgreens are incredibly easy to cultivate in just about any sort of pot or tray. They have shallow root systems since they don’t reach maturity, making them excellent for growing in various pots. There are a variety of creative microgreen growing techniques. However, open-style seedling trays with drainage holes in the bottom provide an ideal solution. Even with enough ventilation, the holes prevent the soil from absorbing too much moisture, which prevents mold formation in the microgreen tray.
Also, another advantage of such tray is that, because microgreens are sensitive and have thin stems, when they reach a particular growth stage, around three to four days before harvest, at this time watering them from above might flatten the plants. The drainage holes allow plants to be irrigated from the bottom.
Seeds
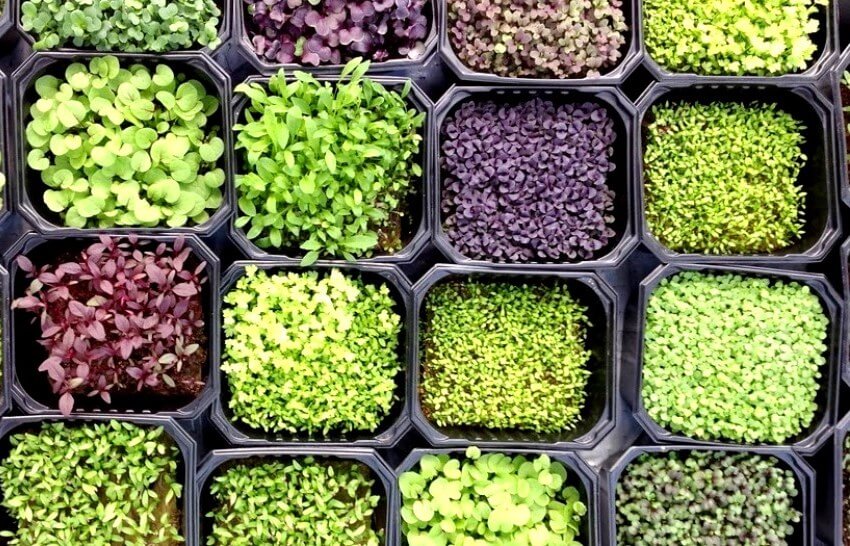
Although most seeds can be used for growing microgreens, specific options are more practical than others. Cotyledons from melons or squash, for example, are thick and chewy and don’t taste especially appealing. However, daikon radish and purple kohlrabi are both delicious and offer attractive products.
When selecting seeds for growing microgreens indoors, keep the following factors in mind: personal preference, germination time, color, and cost. Overall, the experience has proven that the following key seeds are a good choice for producing microgreens at home with kids:
- Radish microgreen
- Cress microgreen
- Basil microgreen
- Mustard microgreen
- Beetroot microgreen
- Arugula microgreen
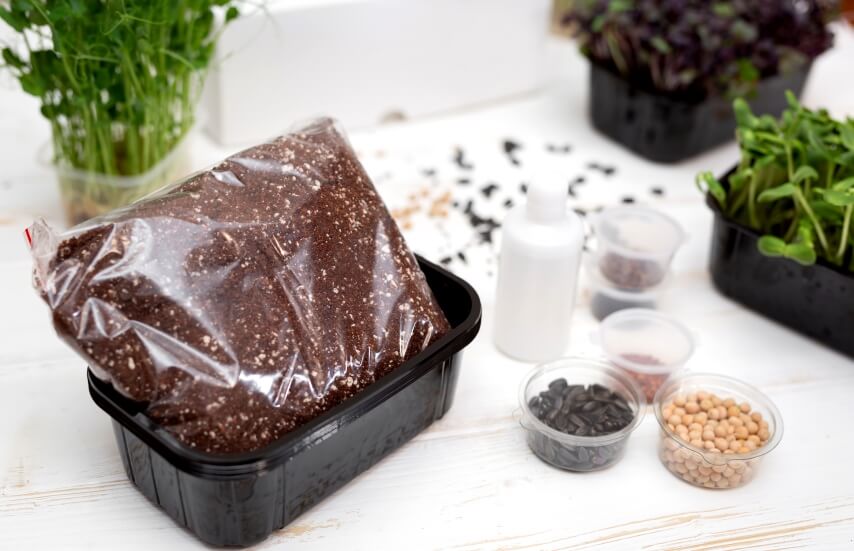
Soil
Microgreens thrive in light soil with adequate drainage and water absorption, so compost combined with a bit of vermiculite is a good option. A mixture of peat moss, compost, and perlite would also be ideal. The essential element of soil preparation is adding water to the mix before planting, which helps keep moisture in the soil during germination.
Towel
Covering the planted seeds with a cloth or paper towel is a simple and effective alternative to using soil.
Watering can
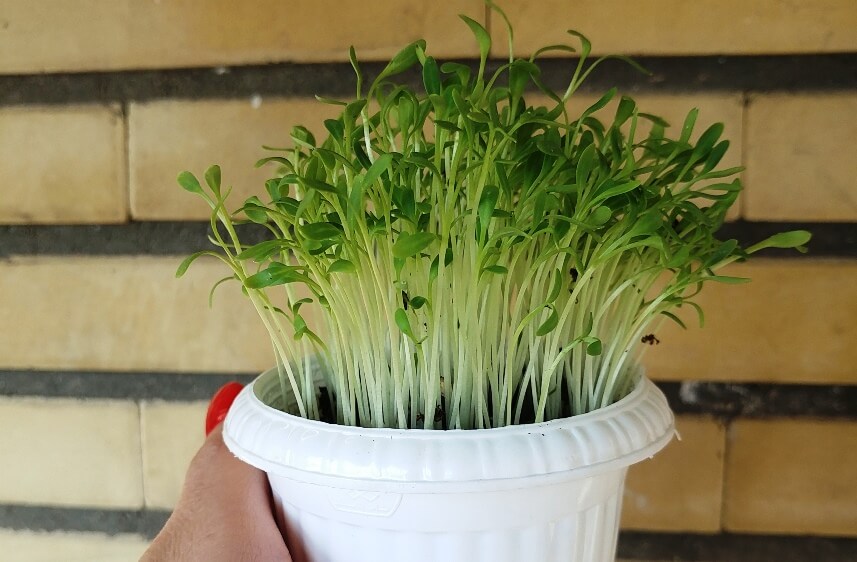
Sprouts will be pretty thin in the first few days after planting, and we need to water them gently so they do not get hurt. As a result, the presence of a watering can is essential for watering and growing microgreens.
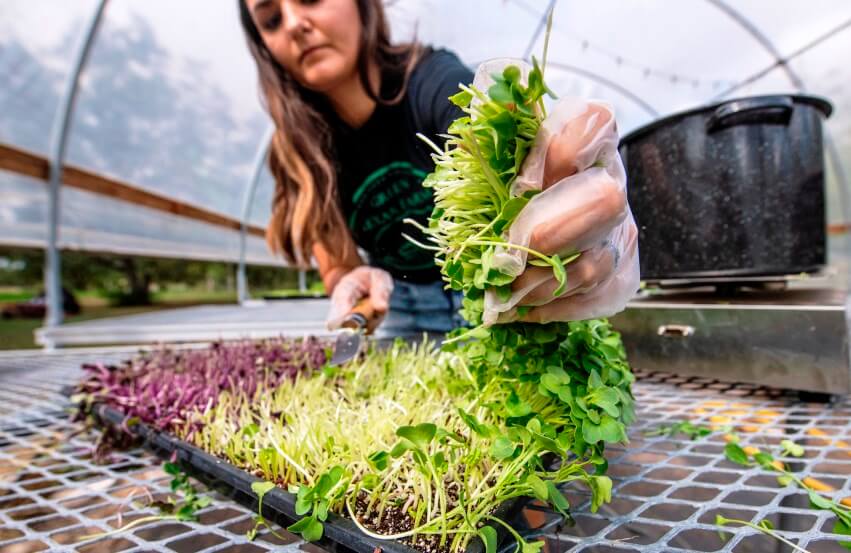
Scissor
Scissors will be used for harvesting the final product.
Storage Can
When it comes to preserving your collected microgreens, you have various alternatives. If you want to sell your greens to others, you can use food-grade resealable bags or plastic clamshells. Any bag or sealable container would suffice for microgreens produced at home for personal use.

Planting And Growing Microgreens Steps
- First, start with a clean tray, pot, or other containers, and add only a few inches of your soil mix, fluffing it up as needed.
- Second, spread seeds on the top of the soil generously.
- Third, smoothly water the seeds and then cover the top of the tray with a dishtowel. This will keep the soil warm, and hiding the sun for a few days will make the seeds healthier overall.
- Fourth, remove the cover and water regularly once they show any signs of growth (approximately three to four days). Place the tray at least six to eight hours beneath the sunlight or growth lights daily.
- Fifth, Water them properly at regular intervals until they grow up. It is acceptable to water plants from above while they are just starting to develop before the microgreens receive their real leaves, but once they are looking very micro-like, it’s critical to “bottom water” them so the fragile stems and leaves do not become flattened.
- Finally, after two or three weeks of growing microgreens, our plants are ready to be used. Harvest the plants with scissors and keep them in storage containers. Glass containers are the best method to keep things fresh. Put the final crops in a Mason jar or a Pyrex container with a cover and keep them in the refrigerator.