
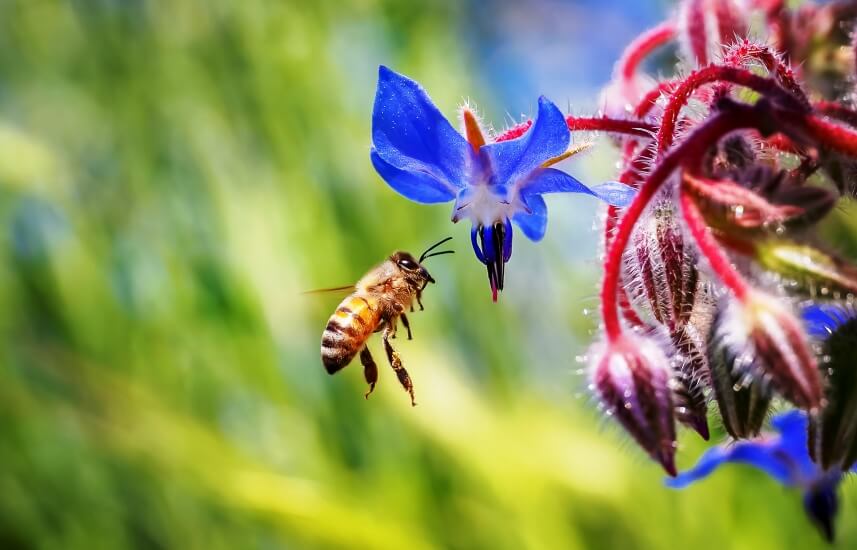
What is Borage plant?
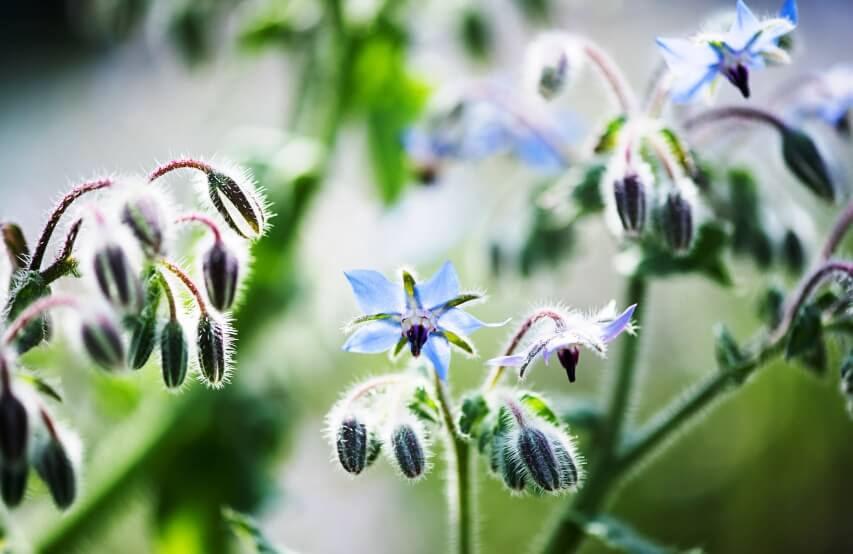
Borago officinalis, often known as Borage, is a Mediterranean plant growing wild since old times. Starflower is another name for it. This is a flowering plant that blooms once a year. In most temperate areas, it blooms from June to October and grows to a height of roughly two feet at a medium rate.
With five narrow, triangular-pointed petals, the flowers resemble a star. These lovely flowers are usually blue, but pink blossoms have been seen occasionally, and there are also white-flowered variants. The blossoms are usually a darker blue when the plants are grown in poor soils.
Borage plant history
Borage is a Mediterranean plant that has been growing wild since old times, mainly in the east near Syria. The cultivar spread across Europe and into Northern Africa and Asia in the early Middle Ages. Borage was first introduced to the New World in the 17th century, and it quickly became popular in household gardens.

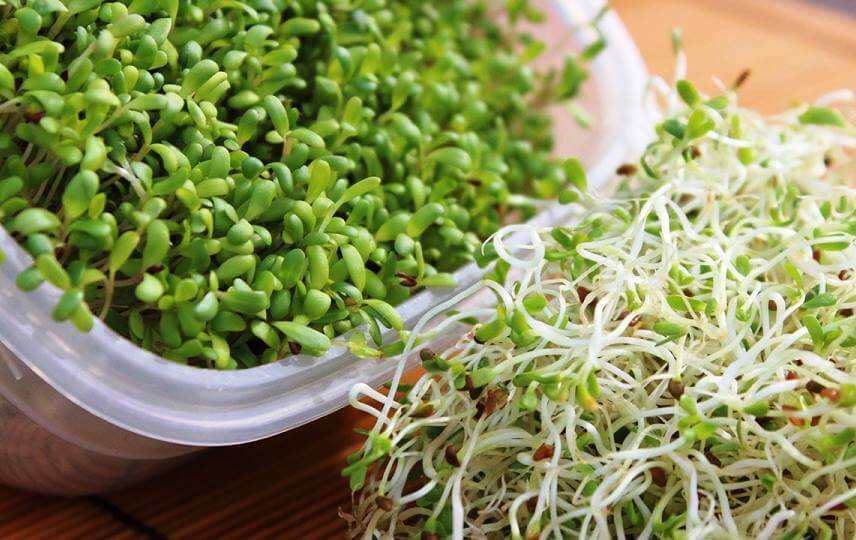
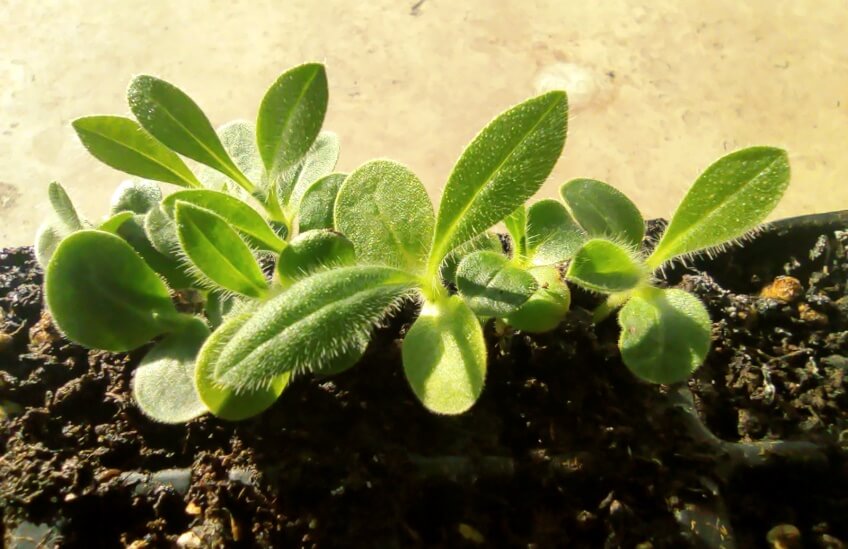
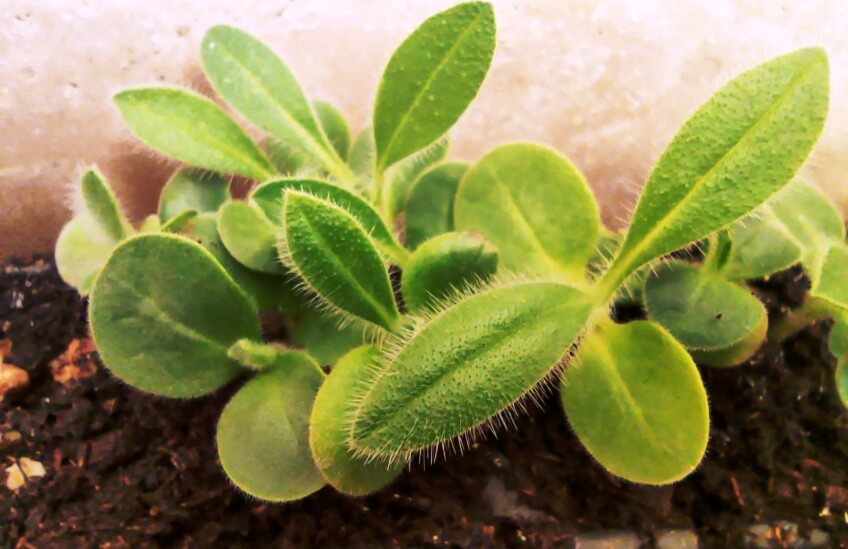
Borage microgreens 15 days after planting
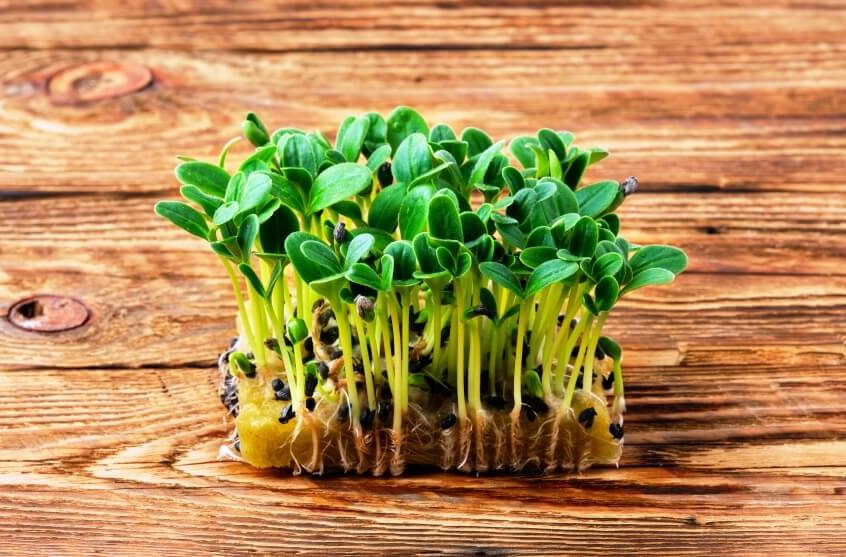
Borage microgreen for chefs
Borage microgreen is a unique microgreen for chefs. Chefs may use Micro Borage to reinvent how Borage is typically used to amuse and surprise their customers. Micro Borage is collected one to two weeks after sowing to ensure maximum freshness and flavor.
Chefs utilize the mild leaves as a surprising, edible garnish in savory meals, and the greens add texture and flavor to the mix. Micro Borage can be used as a decorative garnish on small plates, or a handful of the microgreens can be rapidly sprinkled over larger preparations for added taste, aesthetic appeal, and textural complexity.
Micro Borage is best served fresh as an edible garnish to highlight the green’s fantastic, cucumber-like flavor. Micro Borage can be tossed into salads, piled into sandwiches and wraps, folded into soft cheeses, or floated over soups and curries.
The borage microgreens can also be blended into smoothies, sprinkled on tacos and quesadillas, heaped as a bed for fish or roasted meats, or used as a garnish over sushi.
Micro Borage goes nicely with herbs like basil, marjoram, mint, dill, and parsley and cheeses like gouda, goat, ricotta, fowl, turkey, quail, and fish, as well as elderflower and fruits like strawberries, lemons, and oranges. Borage microgreens will last five to seven days when stored in a sealed container in the refrigerator.
Borage microgreen health benefits
Borage microgreens are high in nutrients and have been used in traditional medicine for centuries to regulate hormones, purify the blood, reduce inflammation, and promote urinary tract health.
Borage microgreens are high in vitamin C, which helps improve the immune system, and folic acid, which aids in developing DNA and genetic material. It also contains a lot of vitamin K, which aids in wound healing. This Microgreens also have fiber content, which helps improve the digestive system.
It is vital to note that the microgreens’ vitamins and minerals are concentrated in the leaves rather than the stems.
How to grow borage microgreen
To grow micro Borage, we need to have the following tools and equipment:
- 10″ × 20″ microgreen tray
- Good quality organic soil
- unbleached paper towel or Parchment paper (optional).
- Plastic sheet or dome lids
- Organic borage seed
- Mister bottle (optional)
- Scissors or sharp knife
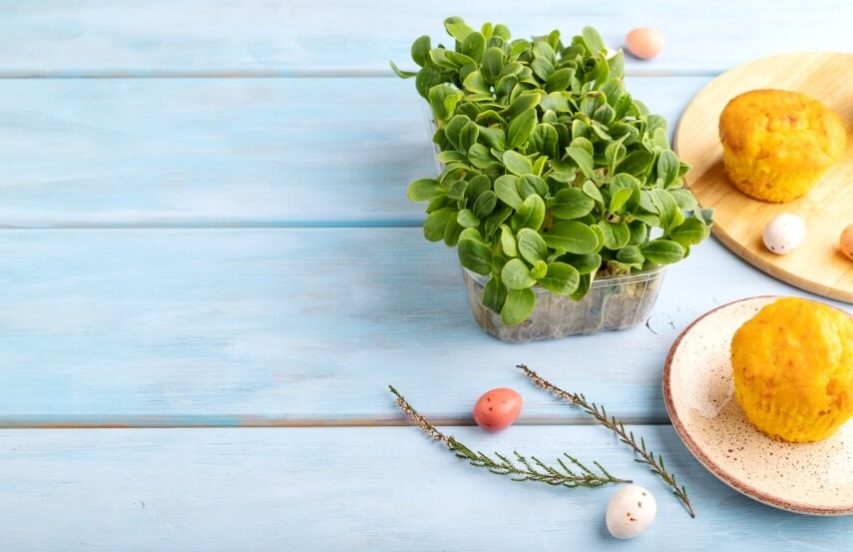
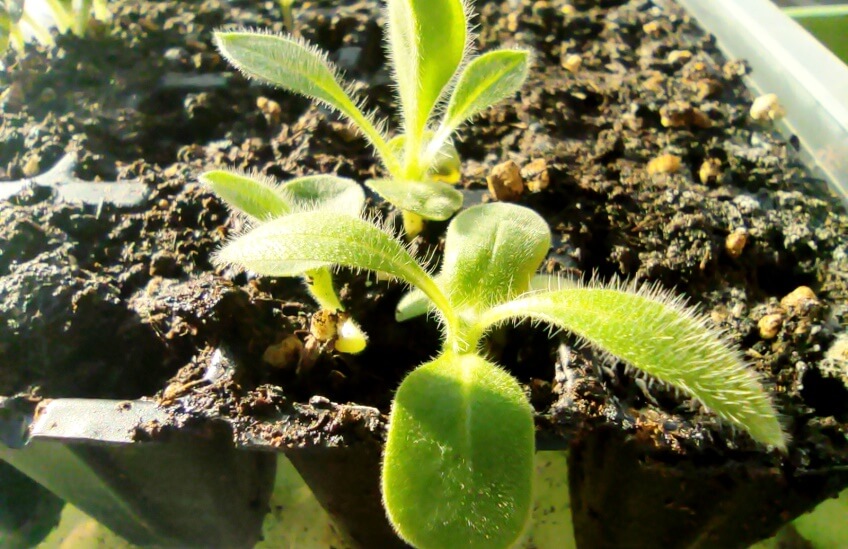
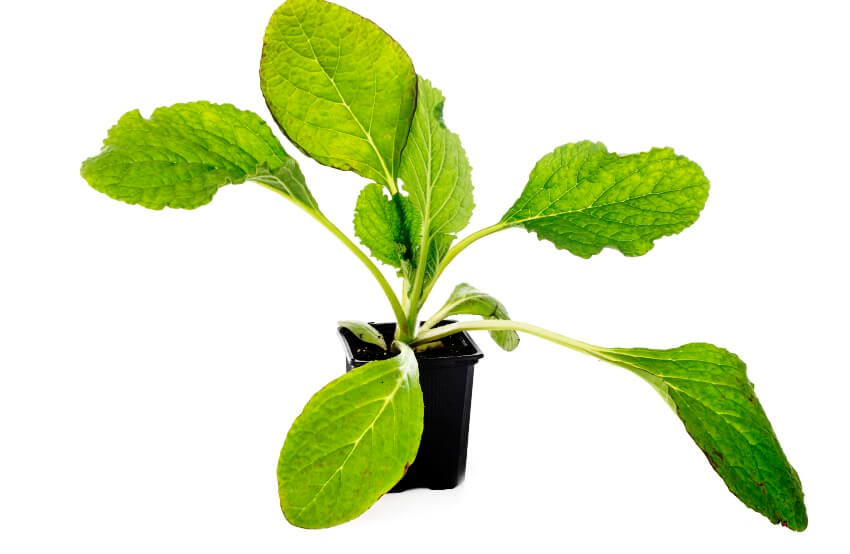
Borage microgreens 23 days after planting
Do not soak the seeds:
Small and medium-sized seeds should not be soaked. If you do not soak tiny seeds like broccoli microgreen seeds and arugula microgreen seeds, they are easier to sprinkle on top of the soil.
Pour Soil into Trays
Purchase or make a microgreen soil mix. Moist the soil and pour the wet soil into trays. Smooth and flatten the soil with a tablespoon or your hand without compacting it.
Sow the Seeds
evenly distribute the borage microgreen seeds over the soil in the tray. The sowing density is determined by the stage of growth at which you intend to harvest.
If the soil is moist enough, seeds do not require sprinkling. If you need more moisture, make a light mist with a spray bottle or a garden spray nozzle. The soil should be damp but not dripping wet throughout.
Cover the Seeds
Use a cover directly on the seeds if stacking the trays on top of each other, such as parchment paper, a plastic sheet, or a moist unbleached paper towel layer.
A dome/lid can keep the seed from drying out when you are not using stacking trays. Use multiple layers of unbleached paper towels folded upon themselves with or without a plastic sheet covering the top for smaller trays.
TIP: When you keep the light out at first, most microgreens will grow taller, but the stem will get weaker. The majority of seeds germinate easily under bright light.
Stack Trays or Cover with Lids
2-5 filled trays can be stacked on top of each other, with one empty tray on top of the stack containing a weight. At least once a day, check to determine if the trays require water. Stack for 5-8 days or until the seeds have taken root.
If you do not want to stack the trays, cover them with clear or black-out plastic, a lid, or a dome. At least once a day, check to determine if the trays require water. Cover the trays for 5-8 days or until the seeds have taken root.
Expose to Indirect sunlight, fluorescent/LED lights, or grow lights
The microgreens should be ready for light after 2-5 days. You can use grow lamp or simply put microgreens near a sunny window. If the microgreens start to get long and slim, it is a sign that they need to be a little lighter.
Water the Growing Microgreens
Once or twice a day, check the seed and water as needed. It is important that the soil is damp, not soaked. Once the trays have been unstacked, fill the no holes tray with water from underneath as needed.
Harvest
Borage microgreens are harvested using scissors or a sharp knife after 15 days. Before keeping microgreens, make sure they are not moist. If necessary, dry the microgreens with a tiny fan or salad spinner before keeping them in a covered container in the refrigerator.
You can begin harvesting microgreens as soon as the first two leaves are spread out rather than gathering them all at once. Take only what you need for your dinner and leave the rest to grow, or store the tray in the fridge with a plastic bag or dome to harvest another day.